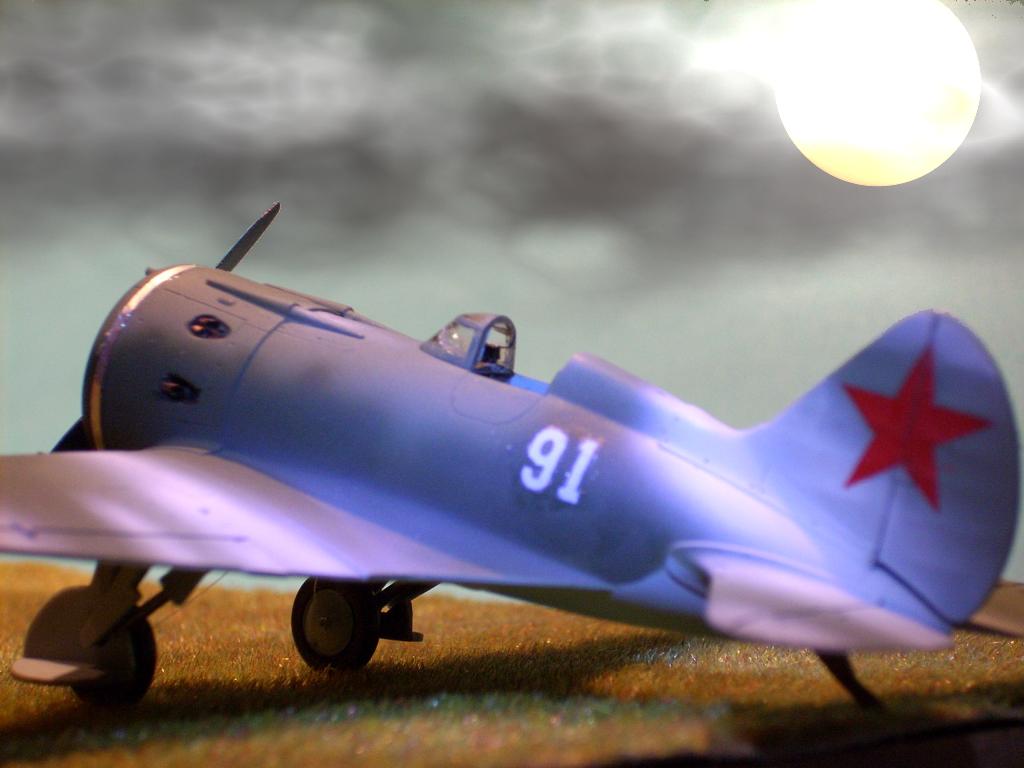
Polikarpow I-16 Rata Typ 10
| Manufacturer: | Kit: | Quality: |
| Hasegawa | Polikarpow I-16 Rata Typ 24 | |
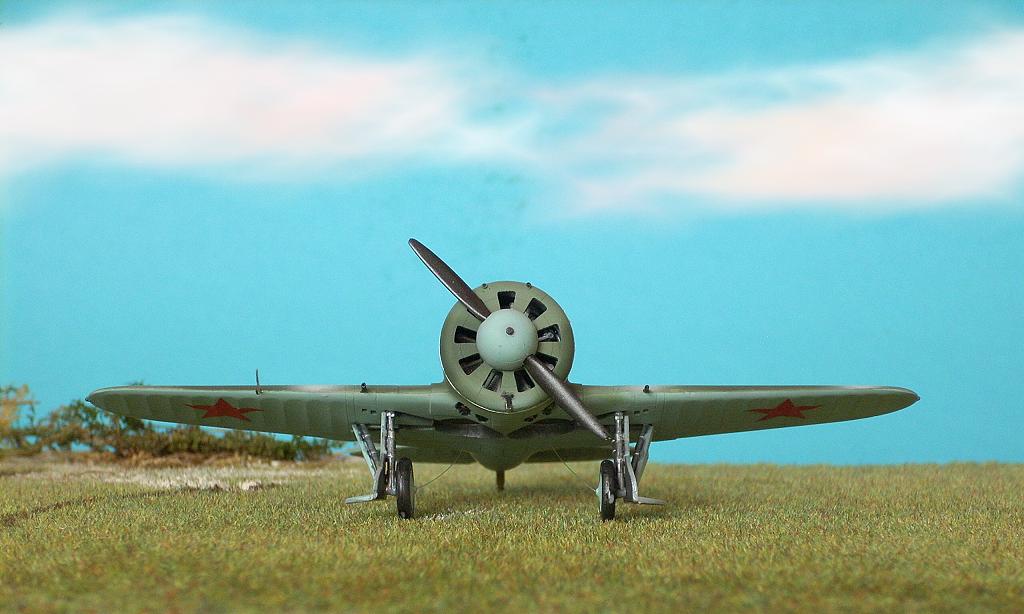
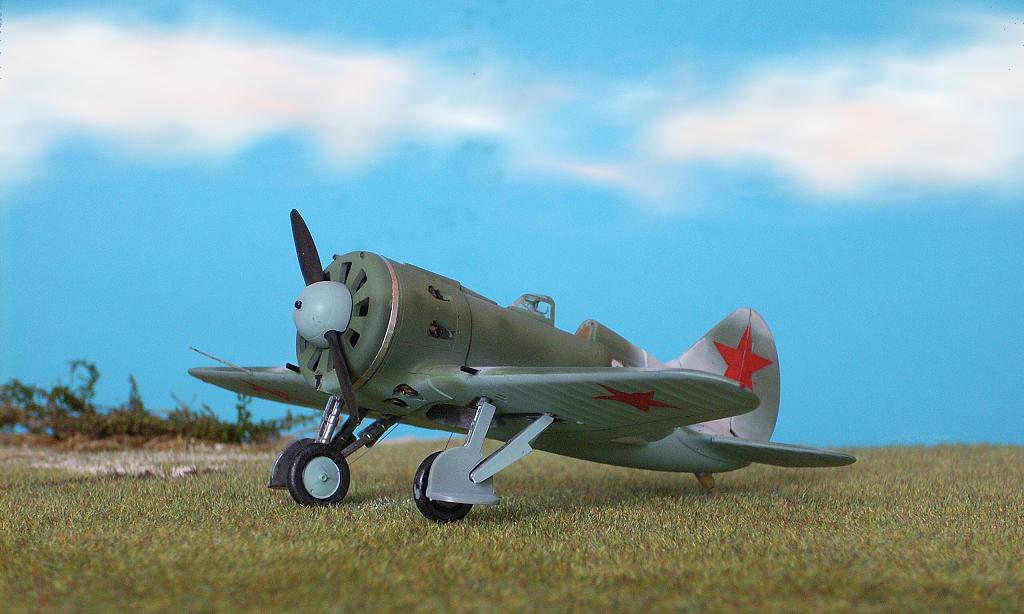
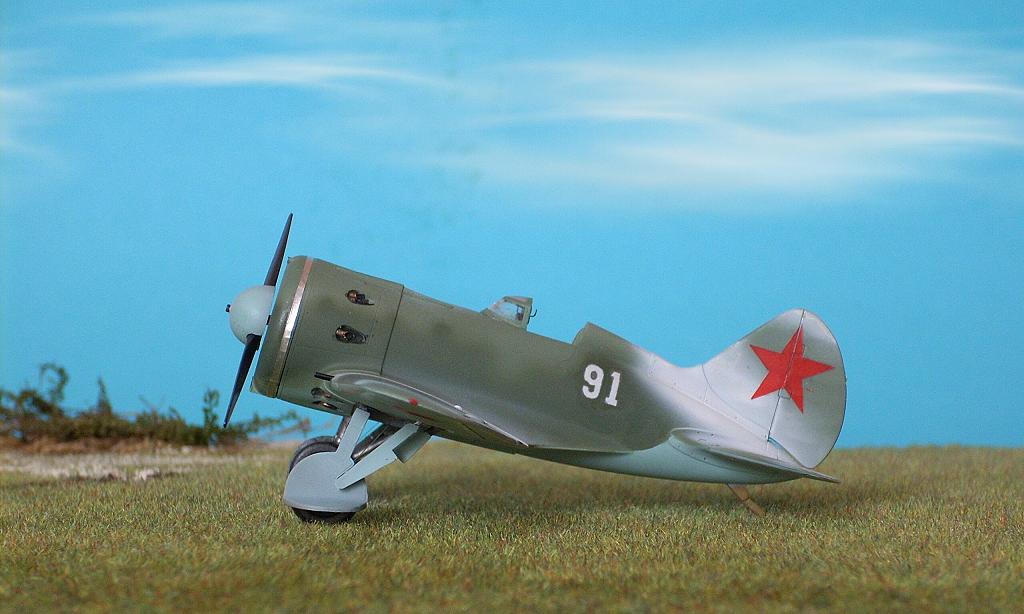
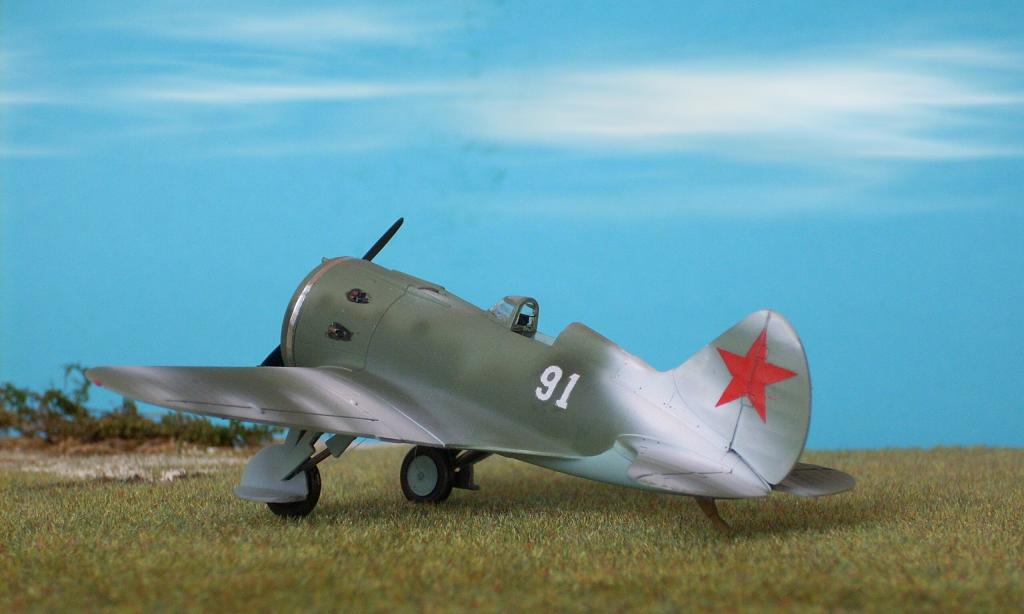
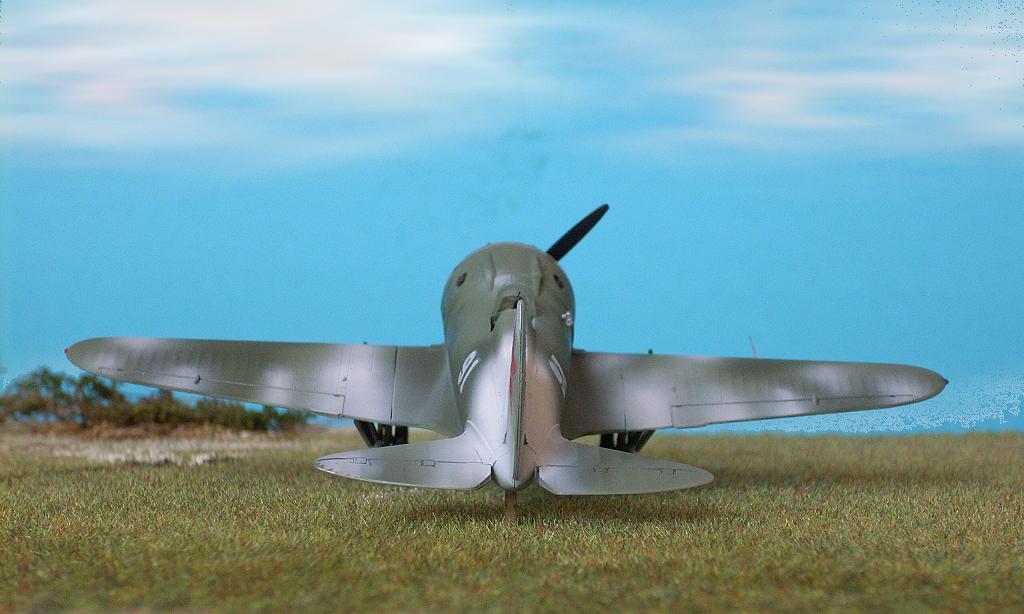
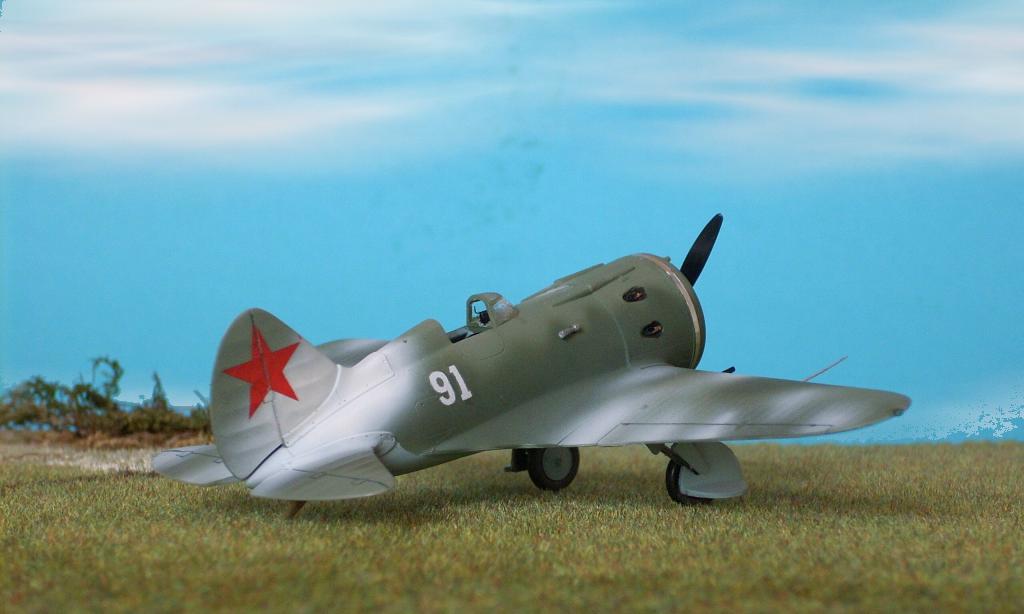
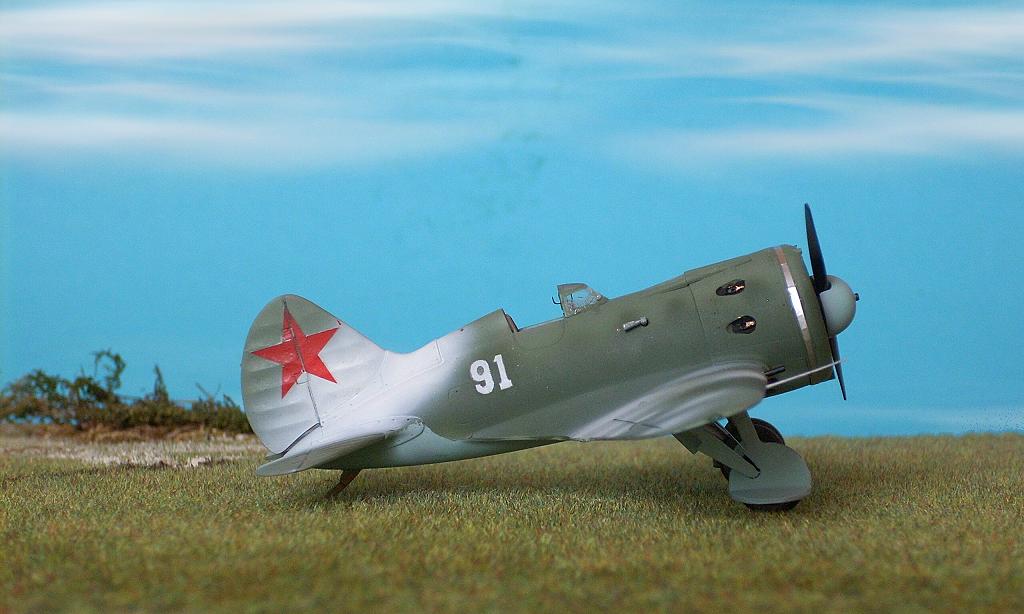
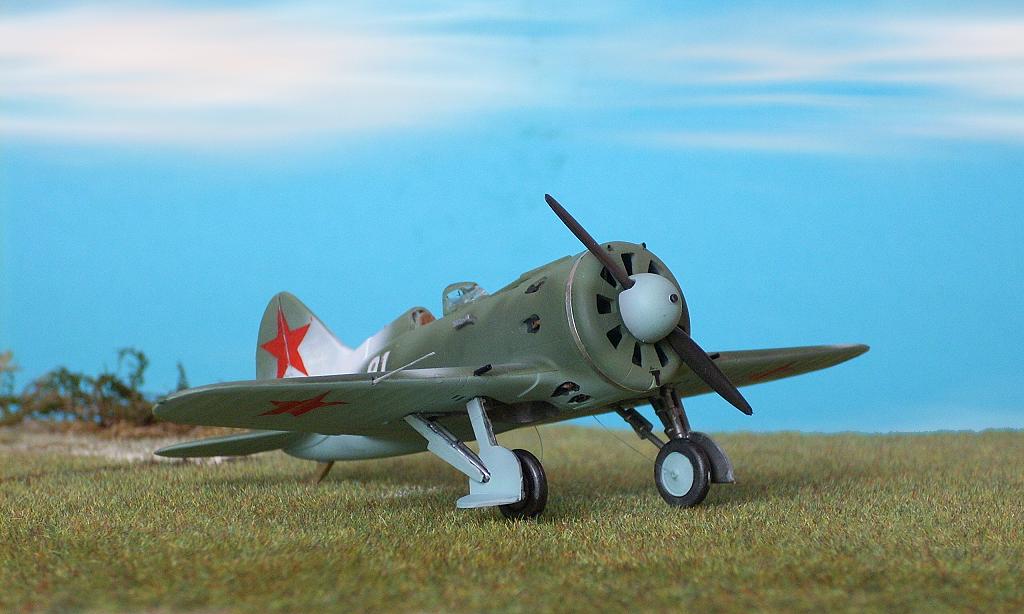
► Teil III: Noch eine Rata Von Hasegawa ist man an sich besseres gewöhnt ... aber, im Vergleich zu den ICM-Ratas, läßt sich aus diesem Bausatz ohne viel Komplikationen ein ansehnliches Modell bauen; nicht zuletzt wegen der wesentlich besseren Paßgenauigkeit und der handlicheren Teile. Und da ich bereits eine Rata Typ 24 hatte, beschloß ich, diese zum Typ 10 rückzubauen. Dazu genügte es, den Lufteinlaß oben an der Stirnseite der Motorhaube zu entfernen und den unteren Lufteinlaß so abzuändern, daß er aussieht wie ein kopfstehendes T. Weiters wurde der Wulst unter der Motorhaube abgetragen und zwei weitere Auslaßlöcher mit den zugehörigen Auspuffröhren angelegt. Im Cockpit ergänzte ich die Sitzgurten und das Visier. Hasegawas Paßgenauigkeit erlaubte einen raschen Zusammenbau der einzelnen Teile, so daß es rasch an den nächsten Arbeitsschritt, die Tarnung ging. Die war mit Hellblau unten und Rusisch-Grün oben sehr schnell genacht, mit ein paar unbestimmten weißen Nebeln, um die verwaschene Winter-Tarnung darzustellen. Kennung und Nummer stammen von den bereits vorgerstellten ICM-Bausätzen. << Teil I: Erste Schritte << Teil II: Tarnung und Markierung |
► Part III: Another Rata Usually, Hasegawa is giving us a better quality, than others ... but, in comparison to the ICM-Ratas, the modeller can build a rather well model with this kit without heavy intricacies; last but not least owing to the much better fitting and manageability of the kit's parts. And, already owning a Rata Type 24, I decided to backdate this one into a Type 10. It was done by removing the air-slot on the engine cowling's upper front and changing the lower air-slot's shape into a T turning upside down. Further I removed the bead underneath the engine-cowling and opened another two holes and applied the two accompanying promienent exhaust pipes instead. In the cockpit I had to ad the missing seat-belts and a rather simply gun-sight. The Hasegawa-kit truly exhibits a perfect fitting of the parts, so I could rapidly go further to the next step, the camouflage. This was easy done with light-blue on the lower, russian-green on the upper sides and some indecisive fog of white to show the prominent semi-weathered winter-camouflage. Markings and decals are taken from the just presented ICM-kits. << Part I: First Steps << Part II: Camouflage and markings |
Further pictures