Gloster Meteor Mk I
| Manufacturer: | Kit: | Quality: |
| Airfix | Gloster Meteor Mk III |
|
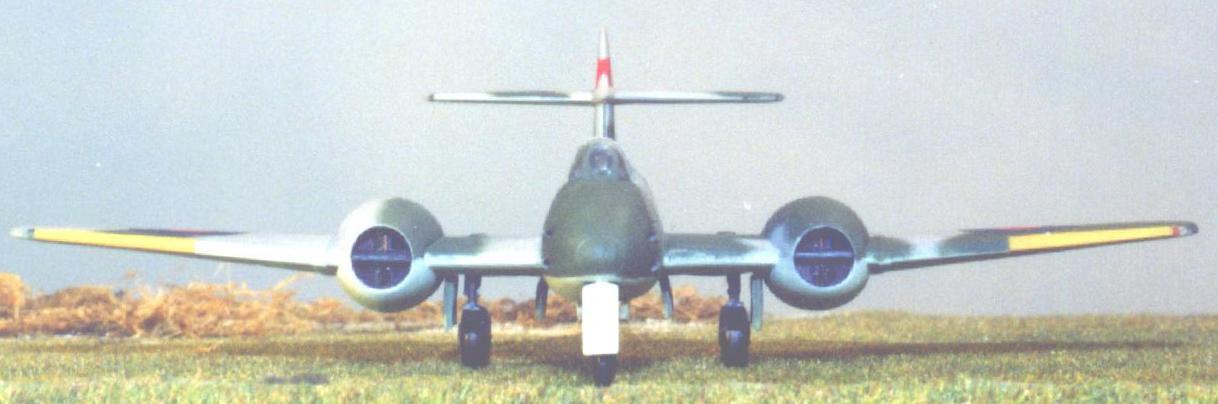
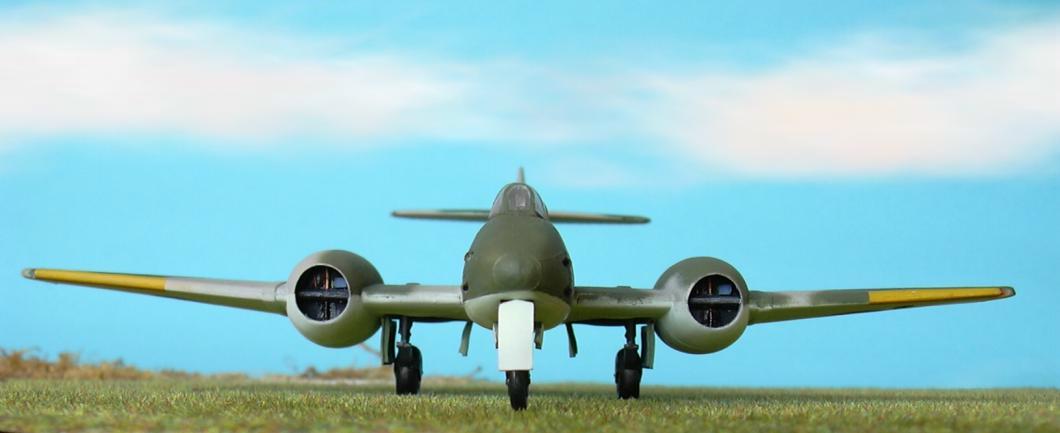
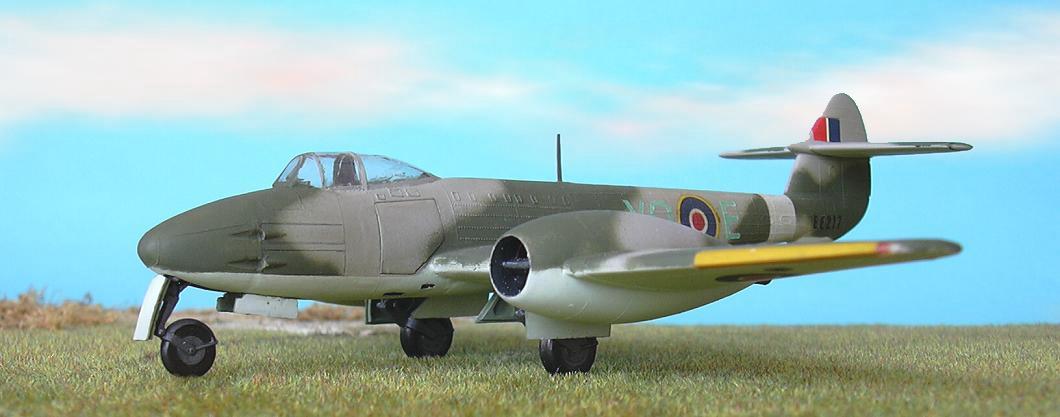
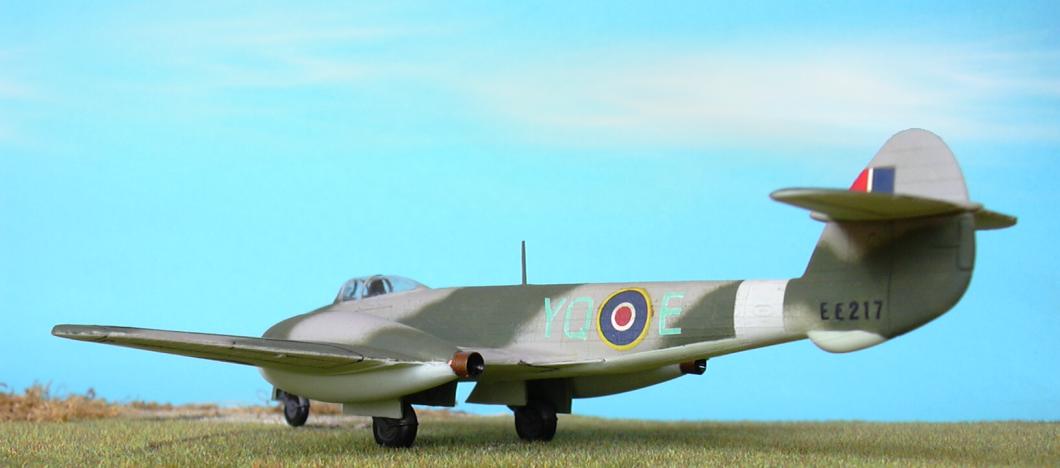
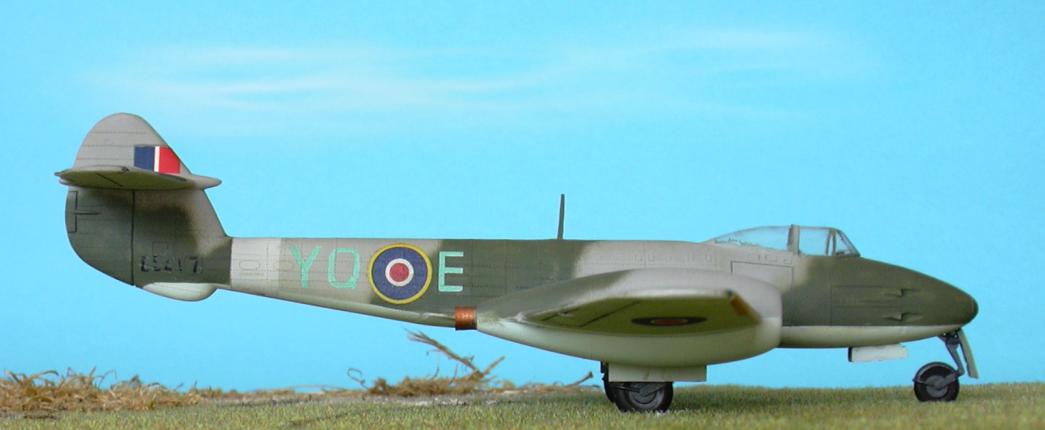
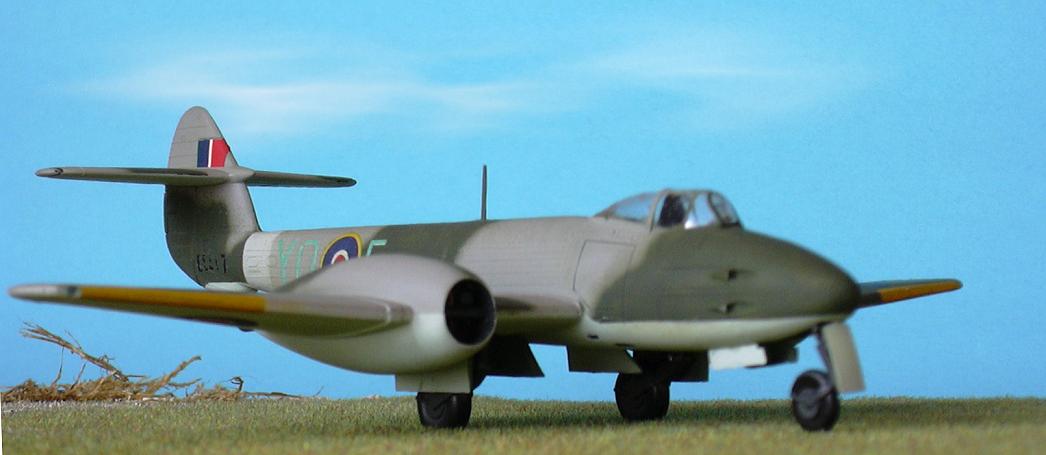
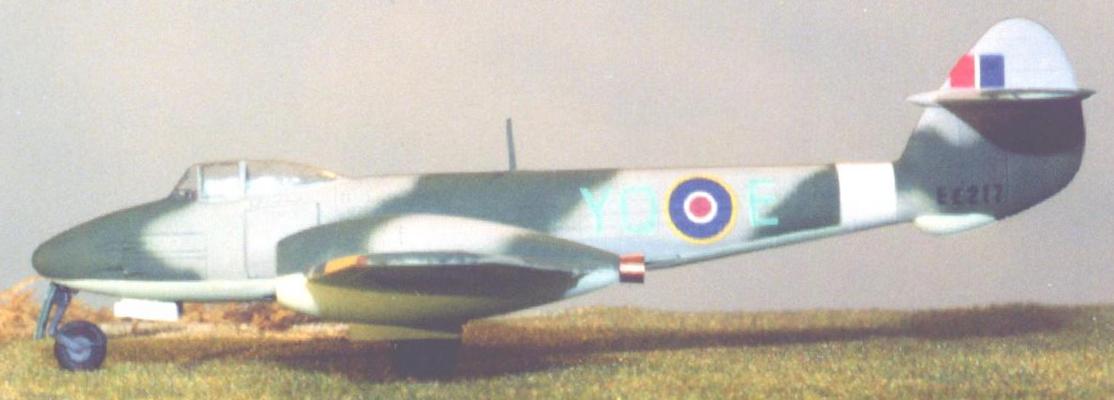
Um die Airfix Meteor Mk III in eine Mk I zu verwandeln, waren folgende Arbeiten nötig: Die wichtigste Änderung war die Kanzel. Die der Mk I war ähnlich jener der ersten Typhoon. Es war die härteste Prüfung meiner Geschicklichkeit, freihändig einen Rohling in Form der Kanzel einer Mk I zu modellieren und diese tiefzuziehen. Als nächstes galt es, eine Cockpiteinrichtung zu machen, die auch diesen Namen verdient, denn dieser alte Airfix-Bausatz hatte nur das, was ich Nicht-Cockpit nenne. Ich baute auch den Bugradschacht originalgetreu mit dem Rohrrahmen - aber am Ende hatte ich zu wenig Ballast im Bug und mußte dort Gewicht nachfüllen, damit sich die Meteor nicht auf den Hintern setzt. Auch die Hauptfahrwerke wurden nachgebessert. Die nächste, masochistische Idee, war, einen Waffenraum zu öffnen. Dieser freihändige Eigenbau der Kanonen war durch Zeichnungen unterstützt. Die Verschlüsse sind aus Plastik geformt, die Läufe aus Kanülen, die Muni-Trommeln wieder selbst gebaut. In die Triebwerkseinlässe fügte ich ein paar Leitungen aus Draht und Aggregate aus Plastikresten und bemalte diese, um das Original zu imitieren. Die Tarnung wurde im Schema des Jahreswechsels 1944/1945 vorgenommen, die Kennung Y Q E ist ein selbst gedrucktes Abziehbild. Recht viel Arbeit, um eine ordentliche Meteor Mk I zu haben. Es wäre an der Zeit, eine neue 1/72er Form zu machen - welcher Hersteller wird es versuchen ?? P.S.: Jetzt fliegt sie auch. |
To optimize the Airfix Meteor Mk III into a Meteor Mk I, following works were necessary: The most important alteration ist the canopy. The Meteor Mk I had a canopy similar to the first Typhoon. It was the hardest approvement of my skill, to mould a stencil of the Mk I - canopy freehand and build a vacuformed canopy by myself. The next work was to scratchbuild a cockpit-interior which deserves the name cockpit, because this kit owns the old Airfix-bad-habit of a real no-cockpit. I also decided to form the front-wheel-bay as originally as possible and scratchbuilt all the struts inside - but finally I had too less weight in the front to prevent my Meteor from sinking on the back, and so I had to fill the front-wheel-bay with weight. The main-landing-gear was optimized, too. The next masochistic idea was to open the left gun-bay. These guns are also a freehand-scratchbuild-work, only supported by some drawings. The breech of the guns are made of plastic, the barrels of tubules, the ammunition-drums are scratchbuilt. Inside the engines air-intakes I added some small pieces of plastics and some wires and coloured that all to imitate the original as well as possible. I used the usual colors of late 1944 / early 1945, the squadron-letters Y Q E are self-printed decals. In summary, much work to get a good model of the Meteor Mk I. It is time to mould a new kit in 1/72 - which manufacturer will try ?? P.S.: Now it is even flying. |
Further pictures